

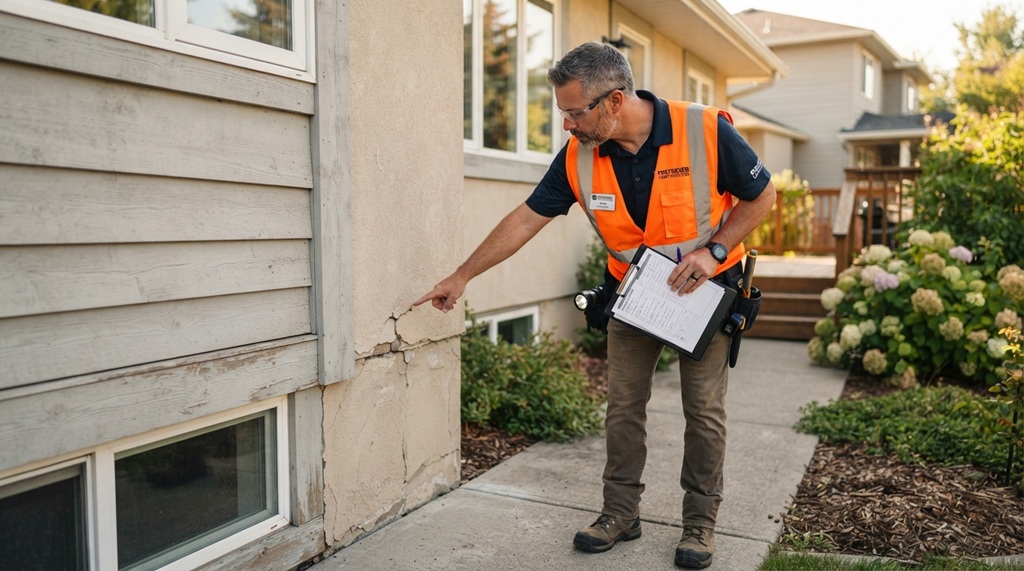
A home inspection report can turn an exciting sale into a stressful negotiation. The good news: most inspection issues are fixable, and buyers rarely walk away over small problems. This guide shows you exactly how to fix home inspection issues before closing, step by step.
Sellers often panic when they see a long list of defects. But not every item needs a full repair. Some issues need documentation, some need a licensed contractor, and some just need a price adjustment instead of a fix. Knowing the difference saves you time and money.
This article breaks down how to read your inspection report, decide what to fix, find the right professionals, and keep your closing date on track.
What to Do Right After You Receive the Inspection Report
Read the full report before you react to the summary page. Inspection reports often list minor items alongside serious ones, and the first page can look worse than the actual findings.
Start by sorting every item into three categories:
- Safety issues – things like faulty wiring, gas leaks, or structural damage
- Functional issues – items that affect how the home works, like a broken water heater
- Cosmetic issues – things like scuffed paint or worn caulking
This sorting step matters because buyers and lenders usually focus on safety and functional problems first. Cosmetic issues rarely stop a sale.
Talk to Your Real Estate Agent Before Talking to the Buyer
Your agent has seen dozens of inspection reports and knows what buyers typically push back on. Share the report with them right away so you can build a response strategy together.
Agents can also tell you which repairs are standard in your local market. A missing handrail might be a dealbreaker in one state and a non-issue in another, depending on local building codes.
How to Decide Which Repairs Are Worth Making
Not every flagged item deserves a repair before closing. The decision usually comes down to three factors: cost, buyer expectations, and lender requirements.
Prioritize Safety and Code Violations
Safety issues and code violations should go to the top of your list. These include:
- Exposed or outdated electrical wiring
- Mold growth
- Structural cracks in the foundation
- Missing smoke or carbon monoxide detectors
- Gas leaks or improperly vented appliances
Lenders, especially those backing FHA and VA loans, often require these issues to be resolved before they approve financing. Skipping them can delay or kill the deal entirely, not just annoy the buyer.
Consider What the Buyer Actually Asked For
Buyers typically submit a repair request or credit request, not a full list of every item on the report. Focus your energy on what they’ve actually asked for, not everything the inspector noted.
If a buyer requests a credit instead of a repair, that’s often the faster and cheaper path. It lets them handle the fix on their own timeline after closing.
Prioritize High-Impact Repairs Over Minor Wear
Scratched floors, outdated fixtures, and faded paint rarely derail a transaction, as buyers naturally expect minor wear in a lived-in property and seldom renegotiate over purely aesthetic flaws. Allocating funds toward these superficial touch-ups yields a minimal return on investment, making it far more strategic to preserve your budget for major functional or structural repairs that directly impact buyer approval and lender requirements. While managing these critical repair expenses prior to closing is essential, establishing a strong financial foundation early on is even more advantageous learn to save for a down payment on a tight income to ensure your overall finances remain secure all the way through the final walk-through.
Step-by-Step Process to Fix Inspection Issues Before Closing

Fixing inspection issues quickly requires a clear process, not scattered repairs. Follow these steps in order to avoid wasted time.
Step 1: Get Multiple Repair Quotes Fast
Contact two or three licensed contractors as soon as you know what needs fixing. Closing timelines move fast, so waiting a week to get quotes can put your deadline at risk.
Ask each contractor for a written estimate and a realistic timeline. Some repairs, like plumbing fixes, can happen within days. Others, like foundation work, may take weeks.
Step 2: Choose Licensed Professionals, Not DIY Fixes
Buyers and their agents often ask for proof that a licensed professional completed the repair. A DIY fix, even a well-done one, can raise red flags during a final walkthrough.
Keep every receipt, invoice, and warranty document. You’ll need these for the closing file and possibly for future liability protection.
Step 3: Request Re-Inspection or Documentation
Once repairs are done, ask the original inspector or a specialist for that specific issue to confirm the fix. A short re-inspection report gives the buyer confidence and creates a paper trail.
For smaller items, a contractor’s signed invoice describing the completed work is often enough. Check with your agent on what your specific buyer and lender expect.
Step 4: Communicate Every Update to the Buyer’s Side
Silence during a repair period makes buyers nervous and can lead to them backing out. Send updates through your agent as each repair gets scheduled and completed.
A simple weekly check-in, even a short one, keeps trust intact and keeps the transaction moving.
Alternative Options When You Can’t Fix Everything in Time
Sometimes a full repair isn’t possible before closing, whether due to cost, contractor availability, or the scope of the work. You still have workable options.
Offer a Closing Credit Instead of a Repair
A credit lets the buyer handle the repair after closing, on their own schedule and with their own chosen contractor. This is often the fastest way to keep a deal moving when time is tight.
Many buyers actually prefer this option. It gives them control over quality and timing instead of trusting a rushed pre-closing repair.
Adjust the Sale Price
A price reduction can resolve a dispute without anyone scheduling a single repair. This works well when the issue is expensive or when contractors can’t start the work in time.
Your agent can help you calculate a fair reduction based on repair estimates from the inspection report.
Use an Escrow Holdback for Weather-Dependent Repairs
Some repairs, like roofing or exterior painting, depend on weather conditions that are outside your control. In these cases, buyers and sellers sometimes agree to hold funds in escrow until the work can happen safely.
This option keeps the closing date on track while guaranteeing the buyer that funds are set aside for the fix. It’s worth discussing with your real estate attorney or title company, since state rules on escrow holdbacks vary.
Common Mistakes Sellers Make When Fixing Inspection Issues
Rushing through repairs often creates new problems instead of solving the original ones. Watch for these common missteps.
Hiring the Cheapest Contractor Available
A rock-bottom quote can mean rushed work, and rushed work can fail a re-inspection. That failure can cost you more time than if you’d hired a qualified contractor from the start.
Fixing Only What’s Visible
Some sellers patch the surface problem without addressing the root cause like painting over a water stain instead of finding the leak. Buyers’ inspectors often catch this during the final walkthrough, and it can damage trust in the whole transaction.
Missing the Repair Deadline in the Contract
Most purchase agreements include a specific deadline for completing agreed-upon repairs. Missing that date, even by a day or two, can technically put you in breach of contract and give the buyer leverage to renegotiate.
A Practical Insight Most Guides Skip: Build a “Repair Response Packet”
Most articles stop at “get quotes and fix the issues.” One thing that genuinely speeds up closings: building a single organized packet for every repair, rather than emailing documents one at a time as they come in.
Include in this packet:
- The original inspection item, quoted directly from the report
- The contractor’s estimate and final invoice
- Before-and-after photos of the repair
- Any re-inspection or specialist confirmation
Send this packet as one complete file once all agreed repairs are done. Agents and attorneys on the buyer’s side can review everything in one sitting instead of chasing scattered emails. This alone can shave days off your closing timeline, since buyer’s agents won’t need to request missing paperwork.
Frequently Asked Questions
Can a buyer back out of the deal because of inspection issues?
Yes, if the purchase agreement includes an inspection contingency. This clause typically lets buyers renegotiate, request repairs, or cancel the contract within a set period after the inspection.
Who pays for inspection repairs, the buyer or the seller?
This depends on your contract and local market norms. In many cases, sellers cover safety and code-related repairs, while buyers accept cosmetic issues as-is or negotiate a credit instead.
How long do sellers usually have to fix inspection issues?
Most contracts set a window of 7 to 14 days, though this varies by state and by the specific purchase agreement. Check your contract’s contingency clause for the exact deadline.
Do I need a re-inspection after making repairs?
Not always, but it’s strongly recommended for safety and structural repairs. A re-inspection report gives both parties documented proof the issue is resolved, which protects you if a dispute comes up later.
What happens if I can’t afford to fix everything the inspector found?
You don’t have to fix every item. Offering a closing credit or a price adjustment often satisfies buyers just as well as a full repair, especially for costly or non-safety-related issues.
Conclusion
Fixing home inspection issues before closing doesn’t have to derail your sale. Sort every issue by severity, prioritize safety and lender-required repairs, and stay flexible with credits or price adjustments when a fix isn’t realistic. Clear communication with your buyer’s side, backed by organized documentation, is often what keeps a deal on track more than the repairs themselves.